Five Tips for Preparing Donations
Looking to donate your used items at DI? Your contributions help keep unnecessary waste out of landfills, provide quality secondhand goods to those who need them, and support training opportunities for individuals experiencing employment barriers.
So how do you prepare items for donation at DI? These tips will make your donation experience smooth and easy. Plus, it’ll help DI employees sort and process your donation.
1. Collect and Sort Items for Donation
2. Throw Out Damaged and Broken Items
3. Bag and Box Your Donations
4. Check Donation Hours
5. Donate!
1. Collect and Sort Items for Donation
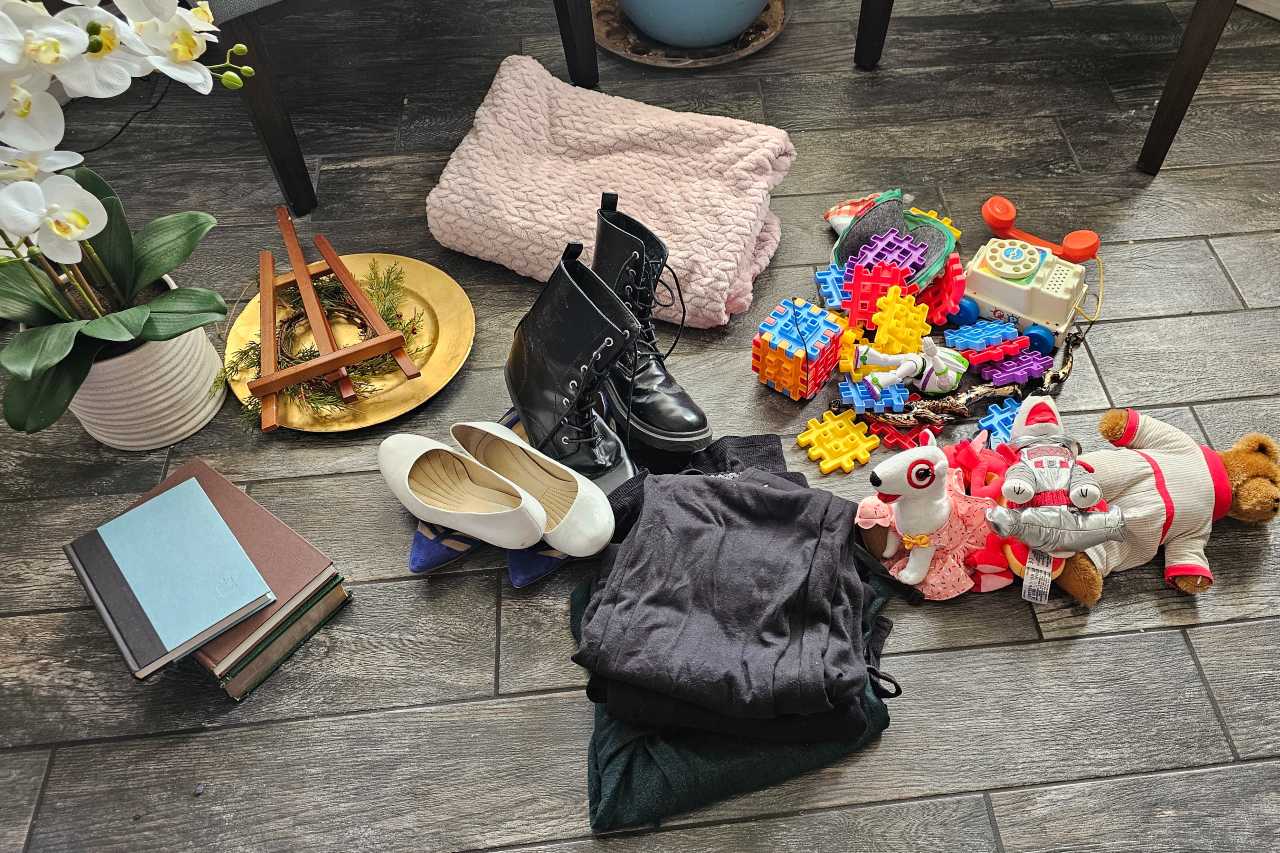
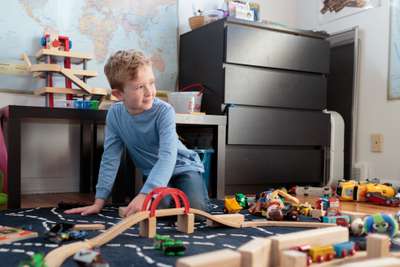
Start in one area of your home and start collecting items to donate. Staring with a single area helps you avoid becoming overwhelmed.
Once you have gathered the items you want to donate, it’s time to sort them. Separating small household items, large household items, electronics, toys, clothing, shoes, books, and other items makes it easier for DI associates to sort your items once they’ve been donated.
2. Throw Out Damaged and Broken Items

As you sort your donation pile, keep an eye out for items that are broken or damaged beyond repair. Ask yourself, “Can someone reuse this?” If not, it’s a good idea to dispose of it.
Other items that should be discarded include underwear, unmatched socks, colored-in coloring books, and other items that are missing pieces or broken.
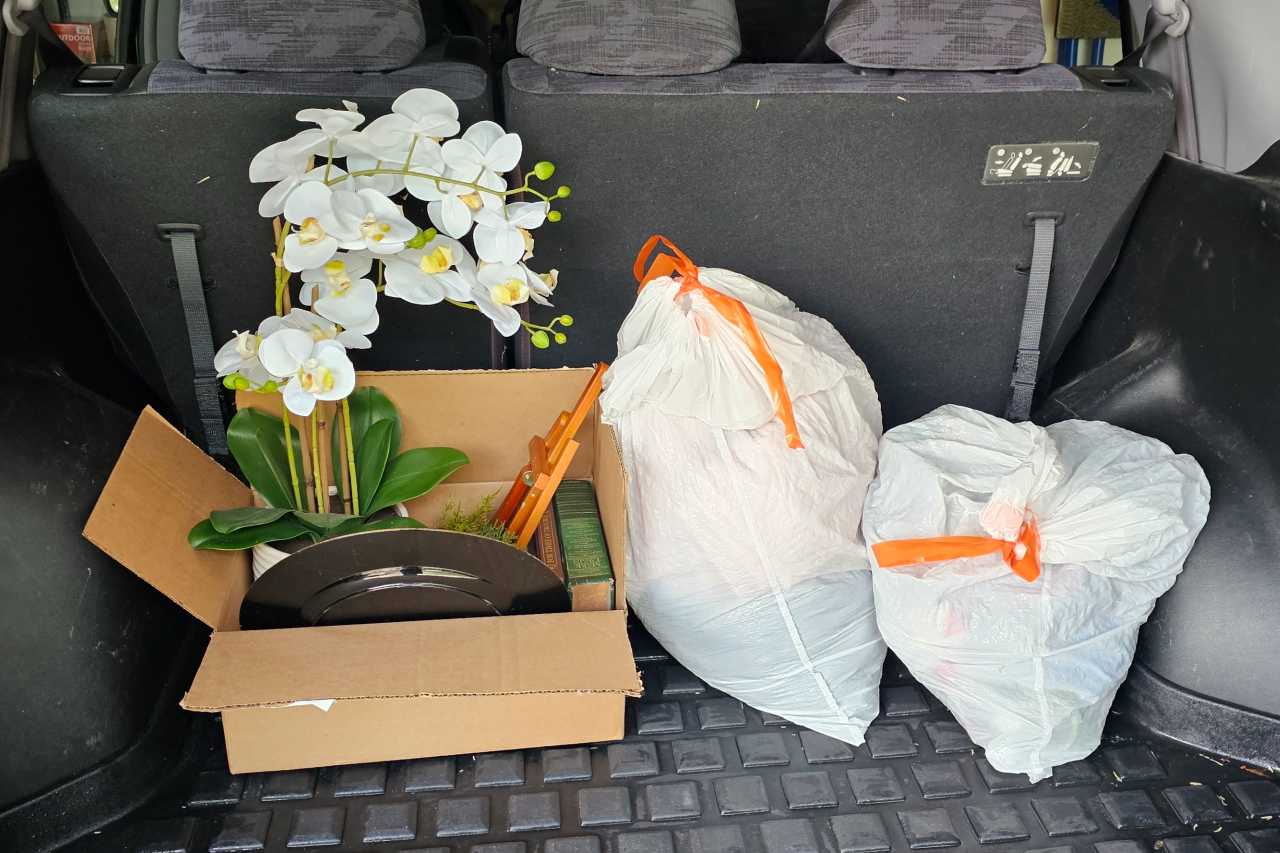
3. Bag and Box Your Donations
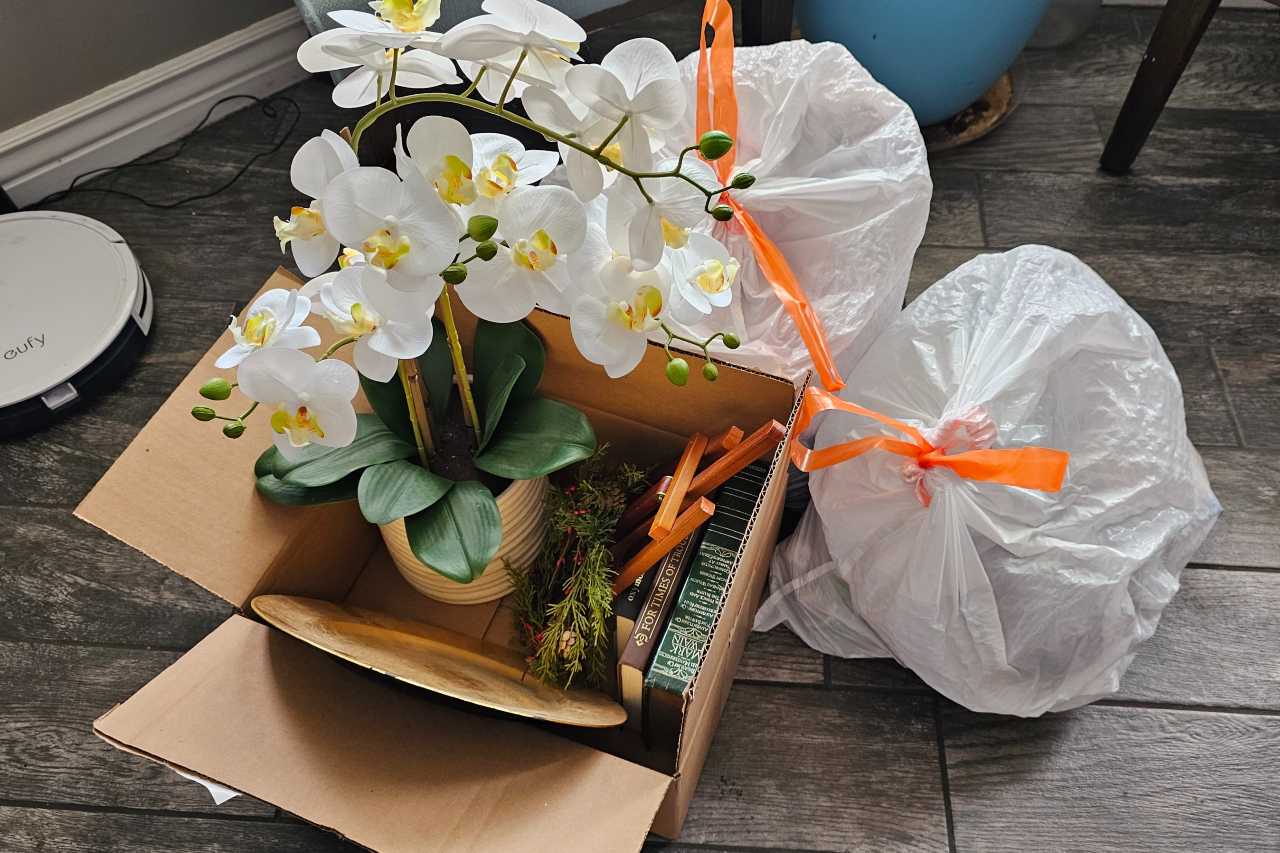
Once your donations have been sorted and you’ve tossed any items that can’t be reused, it’s usually a good idea to put your donations into boxes or bags. While this step isn’t strictly necessary, it does make it much easier to transport your items for donation.
As you box and bag your items, try to keep your sorting intact. Keeping similar items (like clothes and shoes) together makes the drop-off process a lot smoother.
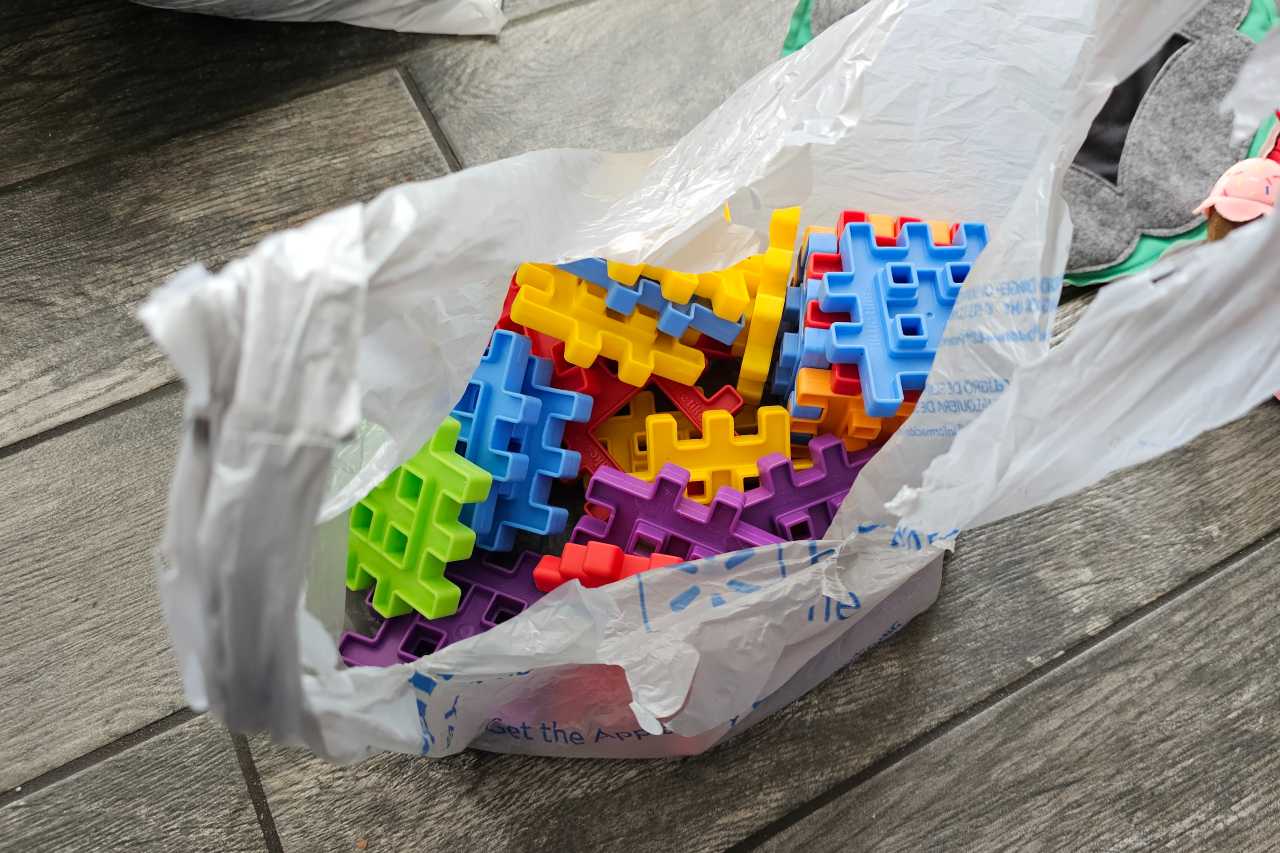
If any of your items are part of a set, we also recommend bagging the entire set together. In the photo above, for instance, we bagged a set of kids waffle blocks in a single grocery bag within our larger bag of toys. This allows DI employees to sort and price the entire set easily—rather than trying to gather all the items from the set from the larger bag.
Finally, bag your donations into boxes or bags that you don’t want to keep. Unloading donations at Deseret Industries is a lot more streamlined when you don’t need your containers back.
4. Check Donation Hours
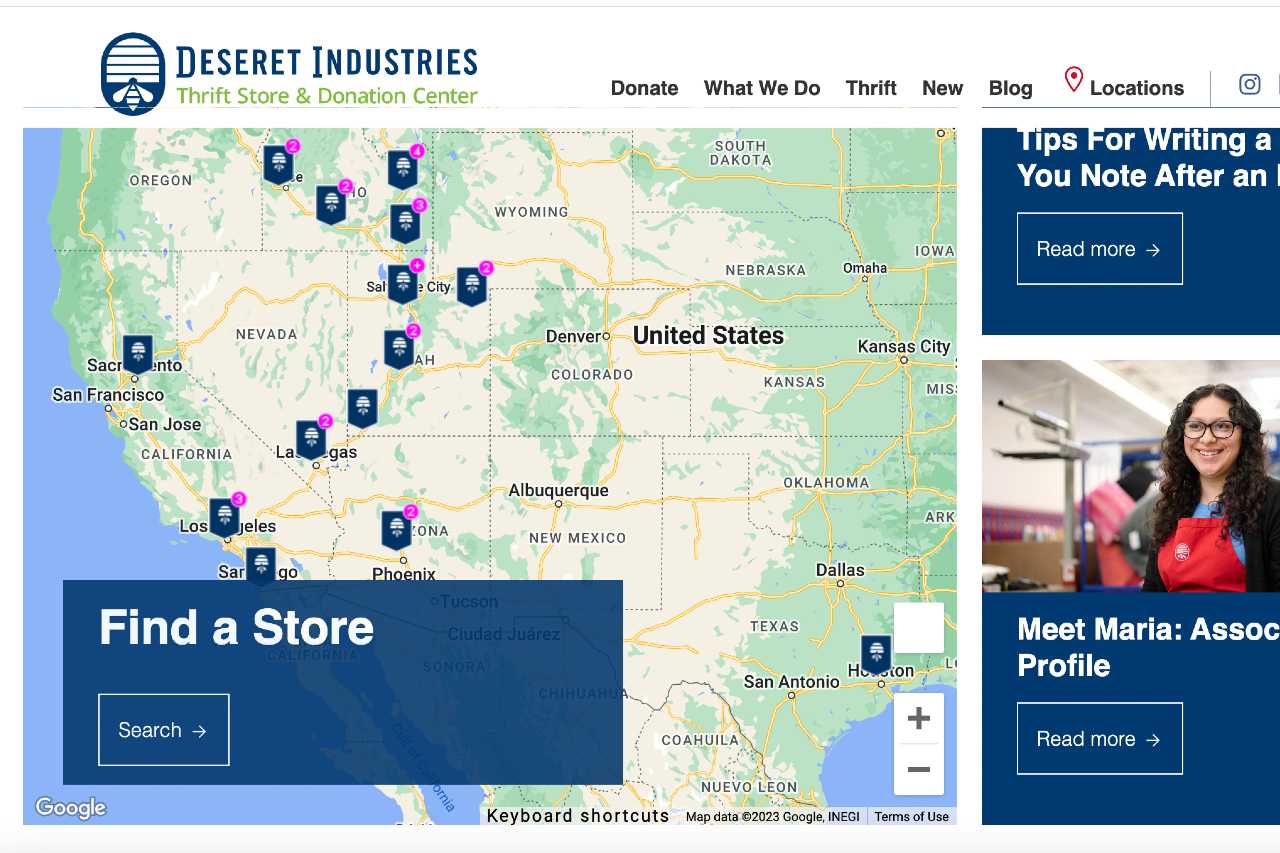
While many Deseret Industries locations are operating at normal hours (and donation appointments are no longer required), there are some exceptions. Before you make the drive, it never hurts to visit the Deseret Industries website to check the donation hours for your local DI.
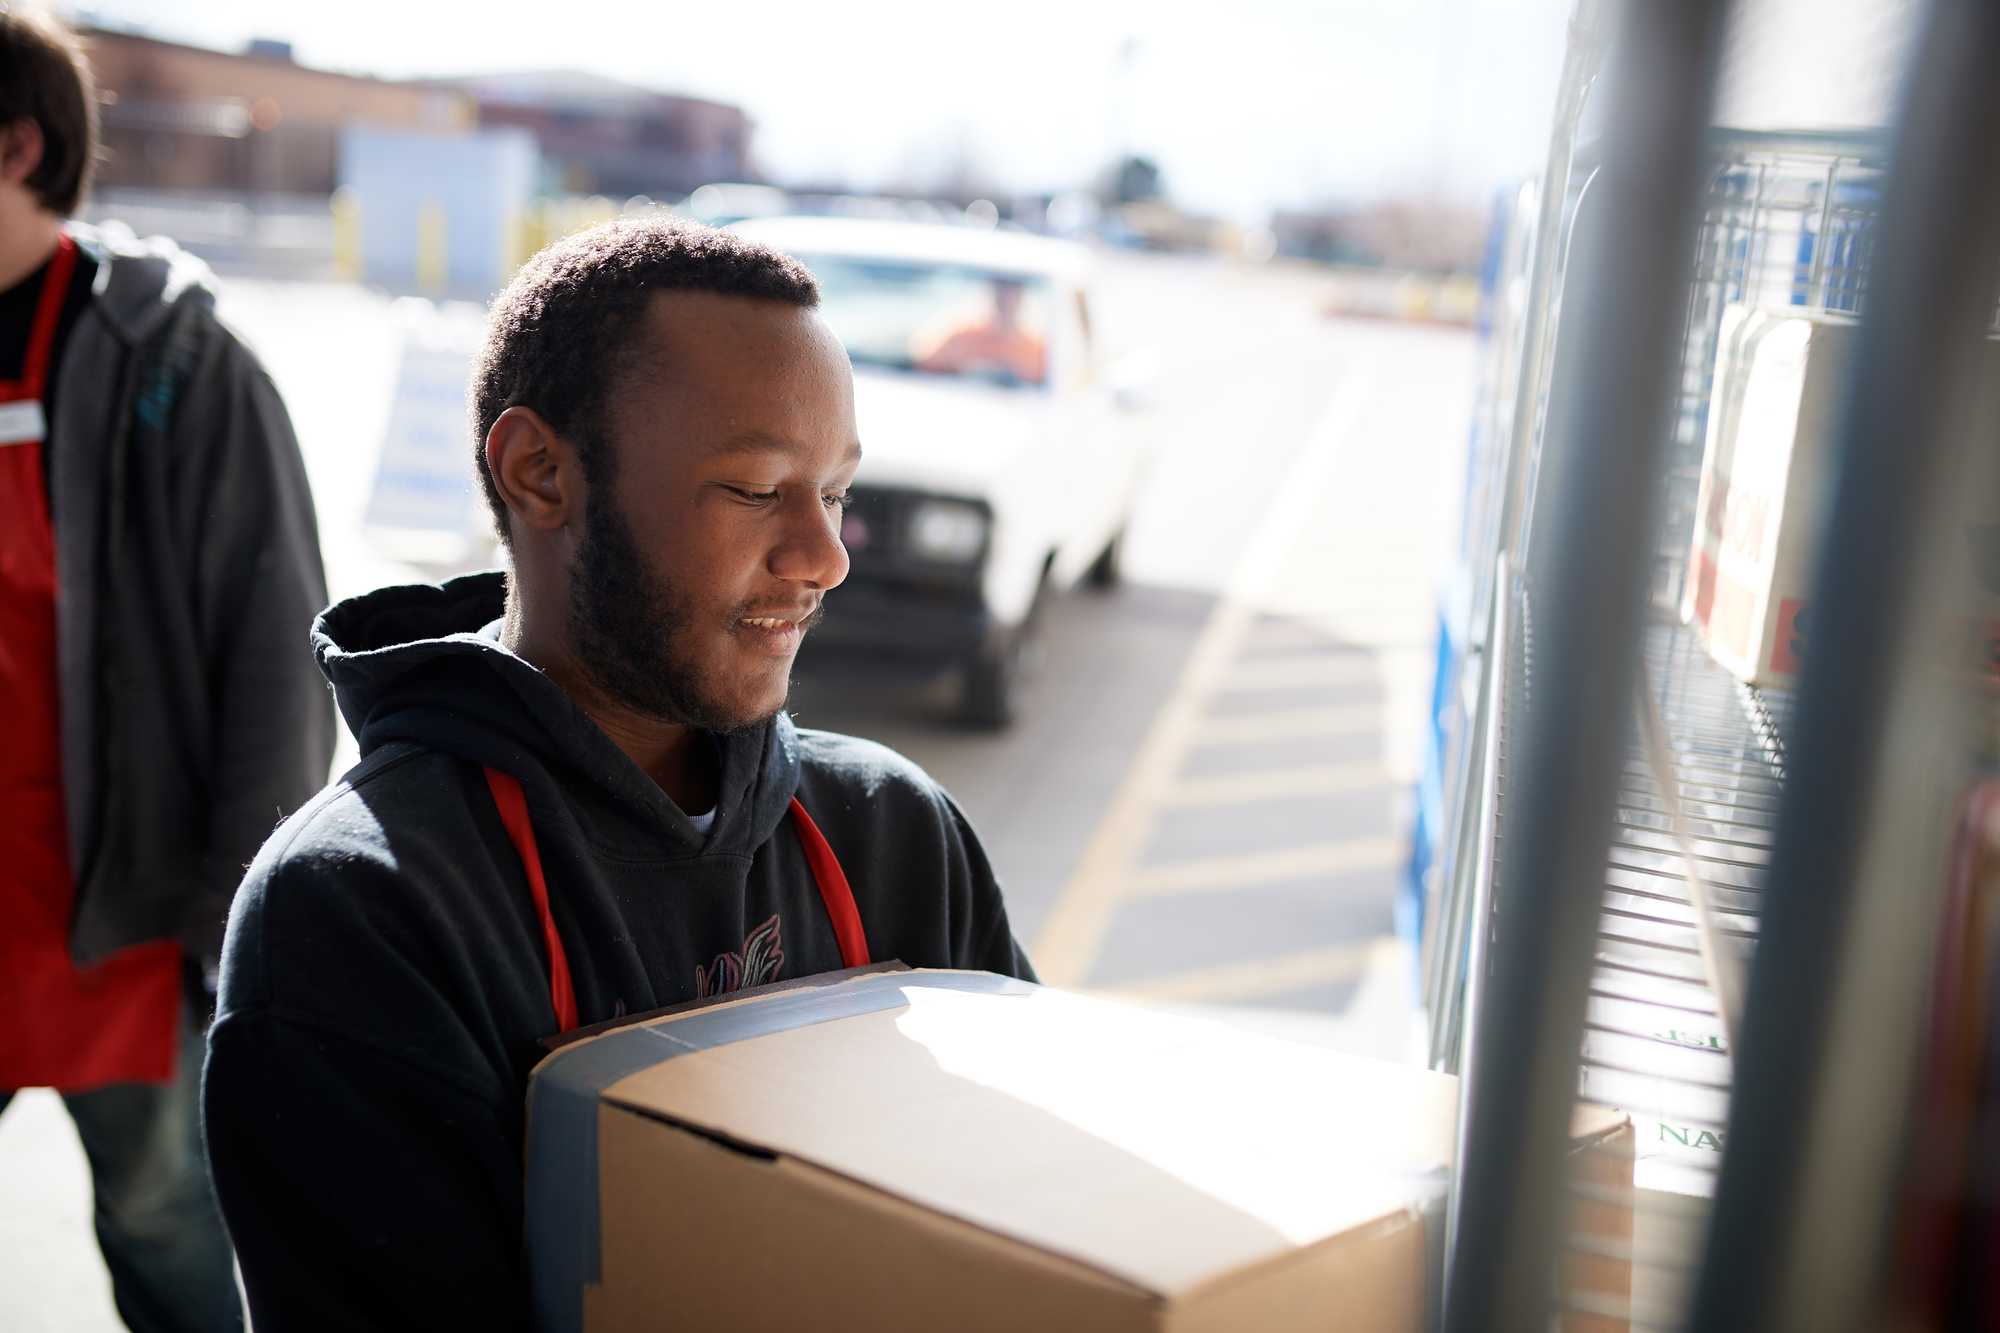
5. Donate!
To make your donation experience as smooth as possible, make sure to separate your donations from other items in your vehicle. And whenever possible, get out of your car to show the donation center associates which items you would like to share.
Pro tip: If you call ahead to ask which day is the least busy for donations at your local DI, you might save yourself some time!
Donating Helps Everyone
Donating at Deseret Industries can be a huge advantage as you seek to maintain a clean house and minimize clutter. But your donation to DI is more valuable than just the lava lamp you’ve been hanging onto since college. Through your donations, you are supporting a job training program that benefits individuals in the community as they prepare for long-term employment. And you’re giving others the opportunity to enjoy your items and give them a second life!
Thank you for your continued contributions, and we hope to see you soon.
Recent Posts

How Development Counseling at Deseret Industries Builds Individuals
Discover how Development Counseling at Deseret Industries helps individuals overcome barriers, gain confidence, and create better lives for themselves.
.jpeg)
How to Clean Thrifted Clothes 101
Thrifted clothes can become as good as new after using tips for scent and stain removal and following guidelines for washing and drying.

Donating to Deseret Industries: The How, What, and Why
Learn how to donate to Deseret Industries, what items are accepted, and how your contributions support job training and community impact.
Top 5 Kids’ Items to Thrift
Discover the top 5 children’s items to thrift—from clothes to toys—while saving money and supporting your community.